Frugal Valentine's Gift Guide

I wanted to do something a little different than a typical gift guide for Valentine's Day, so today I've compiled a list of 10 ideas for frugal gifts. You don't have to spend a lot of money on a gift in order for it to be special. I personally don't make a huge deal out of Valentine's Day, so these gifts are more my style.

1. Cook a favorite meal or dessert. I almost didn't mention this one because it's so obvious, but cooking is how I show my loved ones how much I love them, so it wouldn't be my gift guide if I didn't include it. Even if you're not a big cook, make an easy dessert. Cooking for someone is a really inexpensive and kind way to show someone you care. 

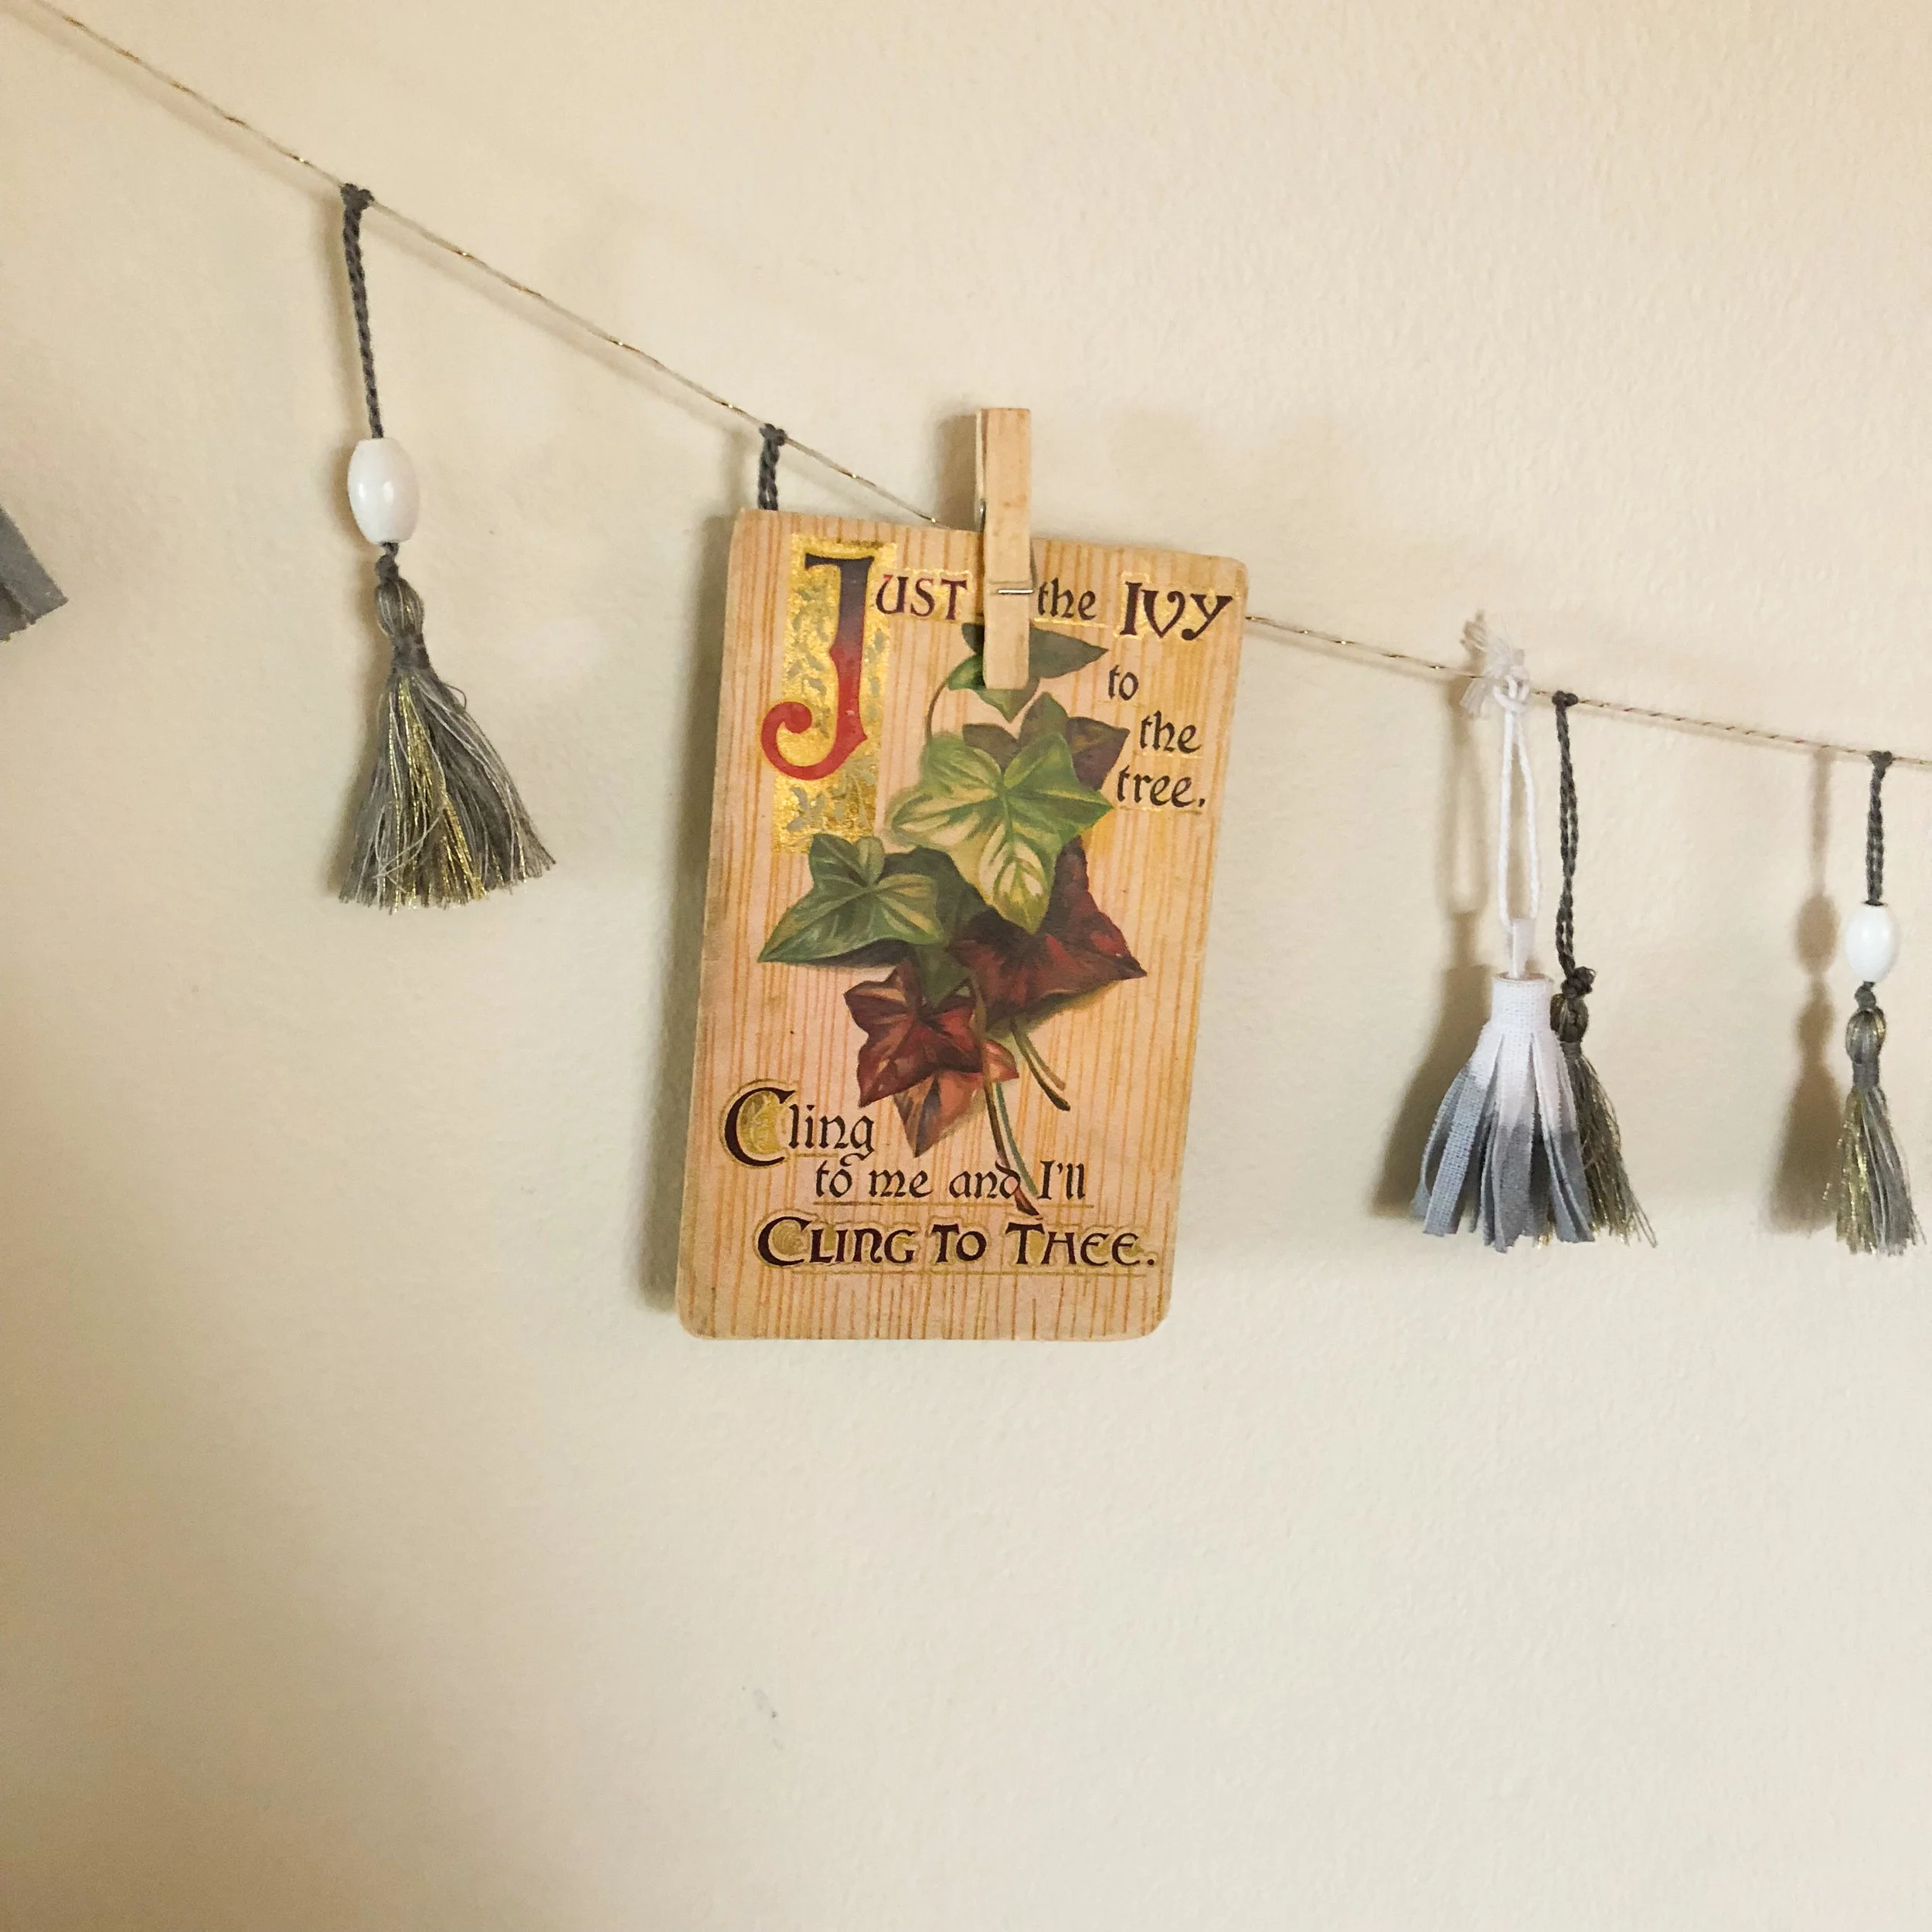
2. Make a handmade Valentine/find an antique one. I love handmade cards but especially valentines. As I get older, I've started to really treasure the cards that I receive from loved ones, so I think this is probably the most frugal gift you can give while still telling someone how much you care. In my house I have a garland of valentines that I found all at an antique store and if they weren't decor I would probably gift them because they are so freaking cute. I love the vintage look of them and think they would make a special gift, especially if you're lucky enough to find ones with messages from the 1930's like I was! 

3. Pick out books for each other. This one doubles as a date. I wish I could take credit for this idea but my boyfriend is the one who took me to do this on our first anniversary. We had 30 min to pick out a book for each other and explain why we chose it and then we bought them and gave them to each other. We agreed to not get any other gifts for each other besides the books which I loved. This is a great way to give more meaning to a gift for one another. 

4. Self care items. If your loved one has a busy job, is really active, or just doesn't do a good job taking care of themselves, it's always a good idea to get items that encourage them to relax. Epsom salts are great for active and tired muscles, sheet masks are great for skincare junkies, and bath bombs are great for those who don't always want to spend the money on bath products.

5. Good smelling things. Candles are always appreciated and if someone is into essential oils, picking out a favorite or new oil is always a great gift that doesn't have to be crazy expensive.

6. An indoor plant. I love some fresh greens in my house especially during the cold winter months, so Valentine's day is a great holiday to get someone a new plant instead of flowers that will inevitably die. I love succulents for people born without green thumbs (i.e. me). I love my aloe plant because it's grown huge and is really low maintenance. 

7. Print off favorite Instagram photos. In a world of Instagram and Social Media, we rarely print out pictures anymore! Find a few of your favorites together and print them off and find a creative way to display them. I can't tell you how appreciative I'd be to receive these because I never think to print out the pictures I love anymore!

8. Find a photo or memento that is meaningful and frame it. If you know that your loved one has a memento, old family member's photo, etc. that they really treasure, secretly steal it and frame it (Obviously make sure you don't do anything to harm the item in case they want to remove it later on...). I think this would be a great way to surprise someone you love.

9. Expensive healthy snacks. Since everyone and their grandma will give candy for Valentine's Day, mix it up and get someone those really expensive snacks that are good for you. Things like kombucha,  dried mangos, etc. that are great treats, but just too dang expensive to eat all the time. Like go to Whole Foods and get the organic healthier gummy bears... Not only will they be thankful to have the snacks that we wish we could always fill up our carts with every week, but they won't feel guilty about enjoying them because they are the healthier alternative. 

10. Subscriptions. There are a million and a half subscriptions you can get someone these days, but I think one like the Book of the Month club for example, would be a great gift. Some of them aren't that expensive, and the value is usually higher than what you pay for them. Buy a month or whatever your budget is, and introduce your loved one to something new! 

This Valentine's Day I encourage you to go for meaning before price tag. Your valentine will appreciate it that much more, and if they don't, they don't deserve to be your Valentine! If you don't have a valentine, do one of these things for yourself! Self love is more important than any of this. 

I hope you feel loved,

Andrea
How to Decorate for Christmas on a Budget

Today we're talking about Christmas and home decor. I've never really mentioned much about my home on the blog but many of you wanted to see how I will be decorating for Christmas this year, when I recently asked in an Instagram poll. My overall style with home decor is pretty simple; cozy. I want people to feel hugged by my house when they walk through the front door. I like neutral colors, but I like different textures and fabrics. I love antiques, vintage furniture, and items with a story. To me, I like my home to evoke a feeling of happiness mixed with memories. Nothing has to match, but everything has to flow. Christmas decorations are no exception. This is the first year I've really decorated for Christmas in my home so I wanted to share with you some ways that I've decorated that are budget friendly and still go along with my design asthetic. 

IMG_0320.JPG

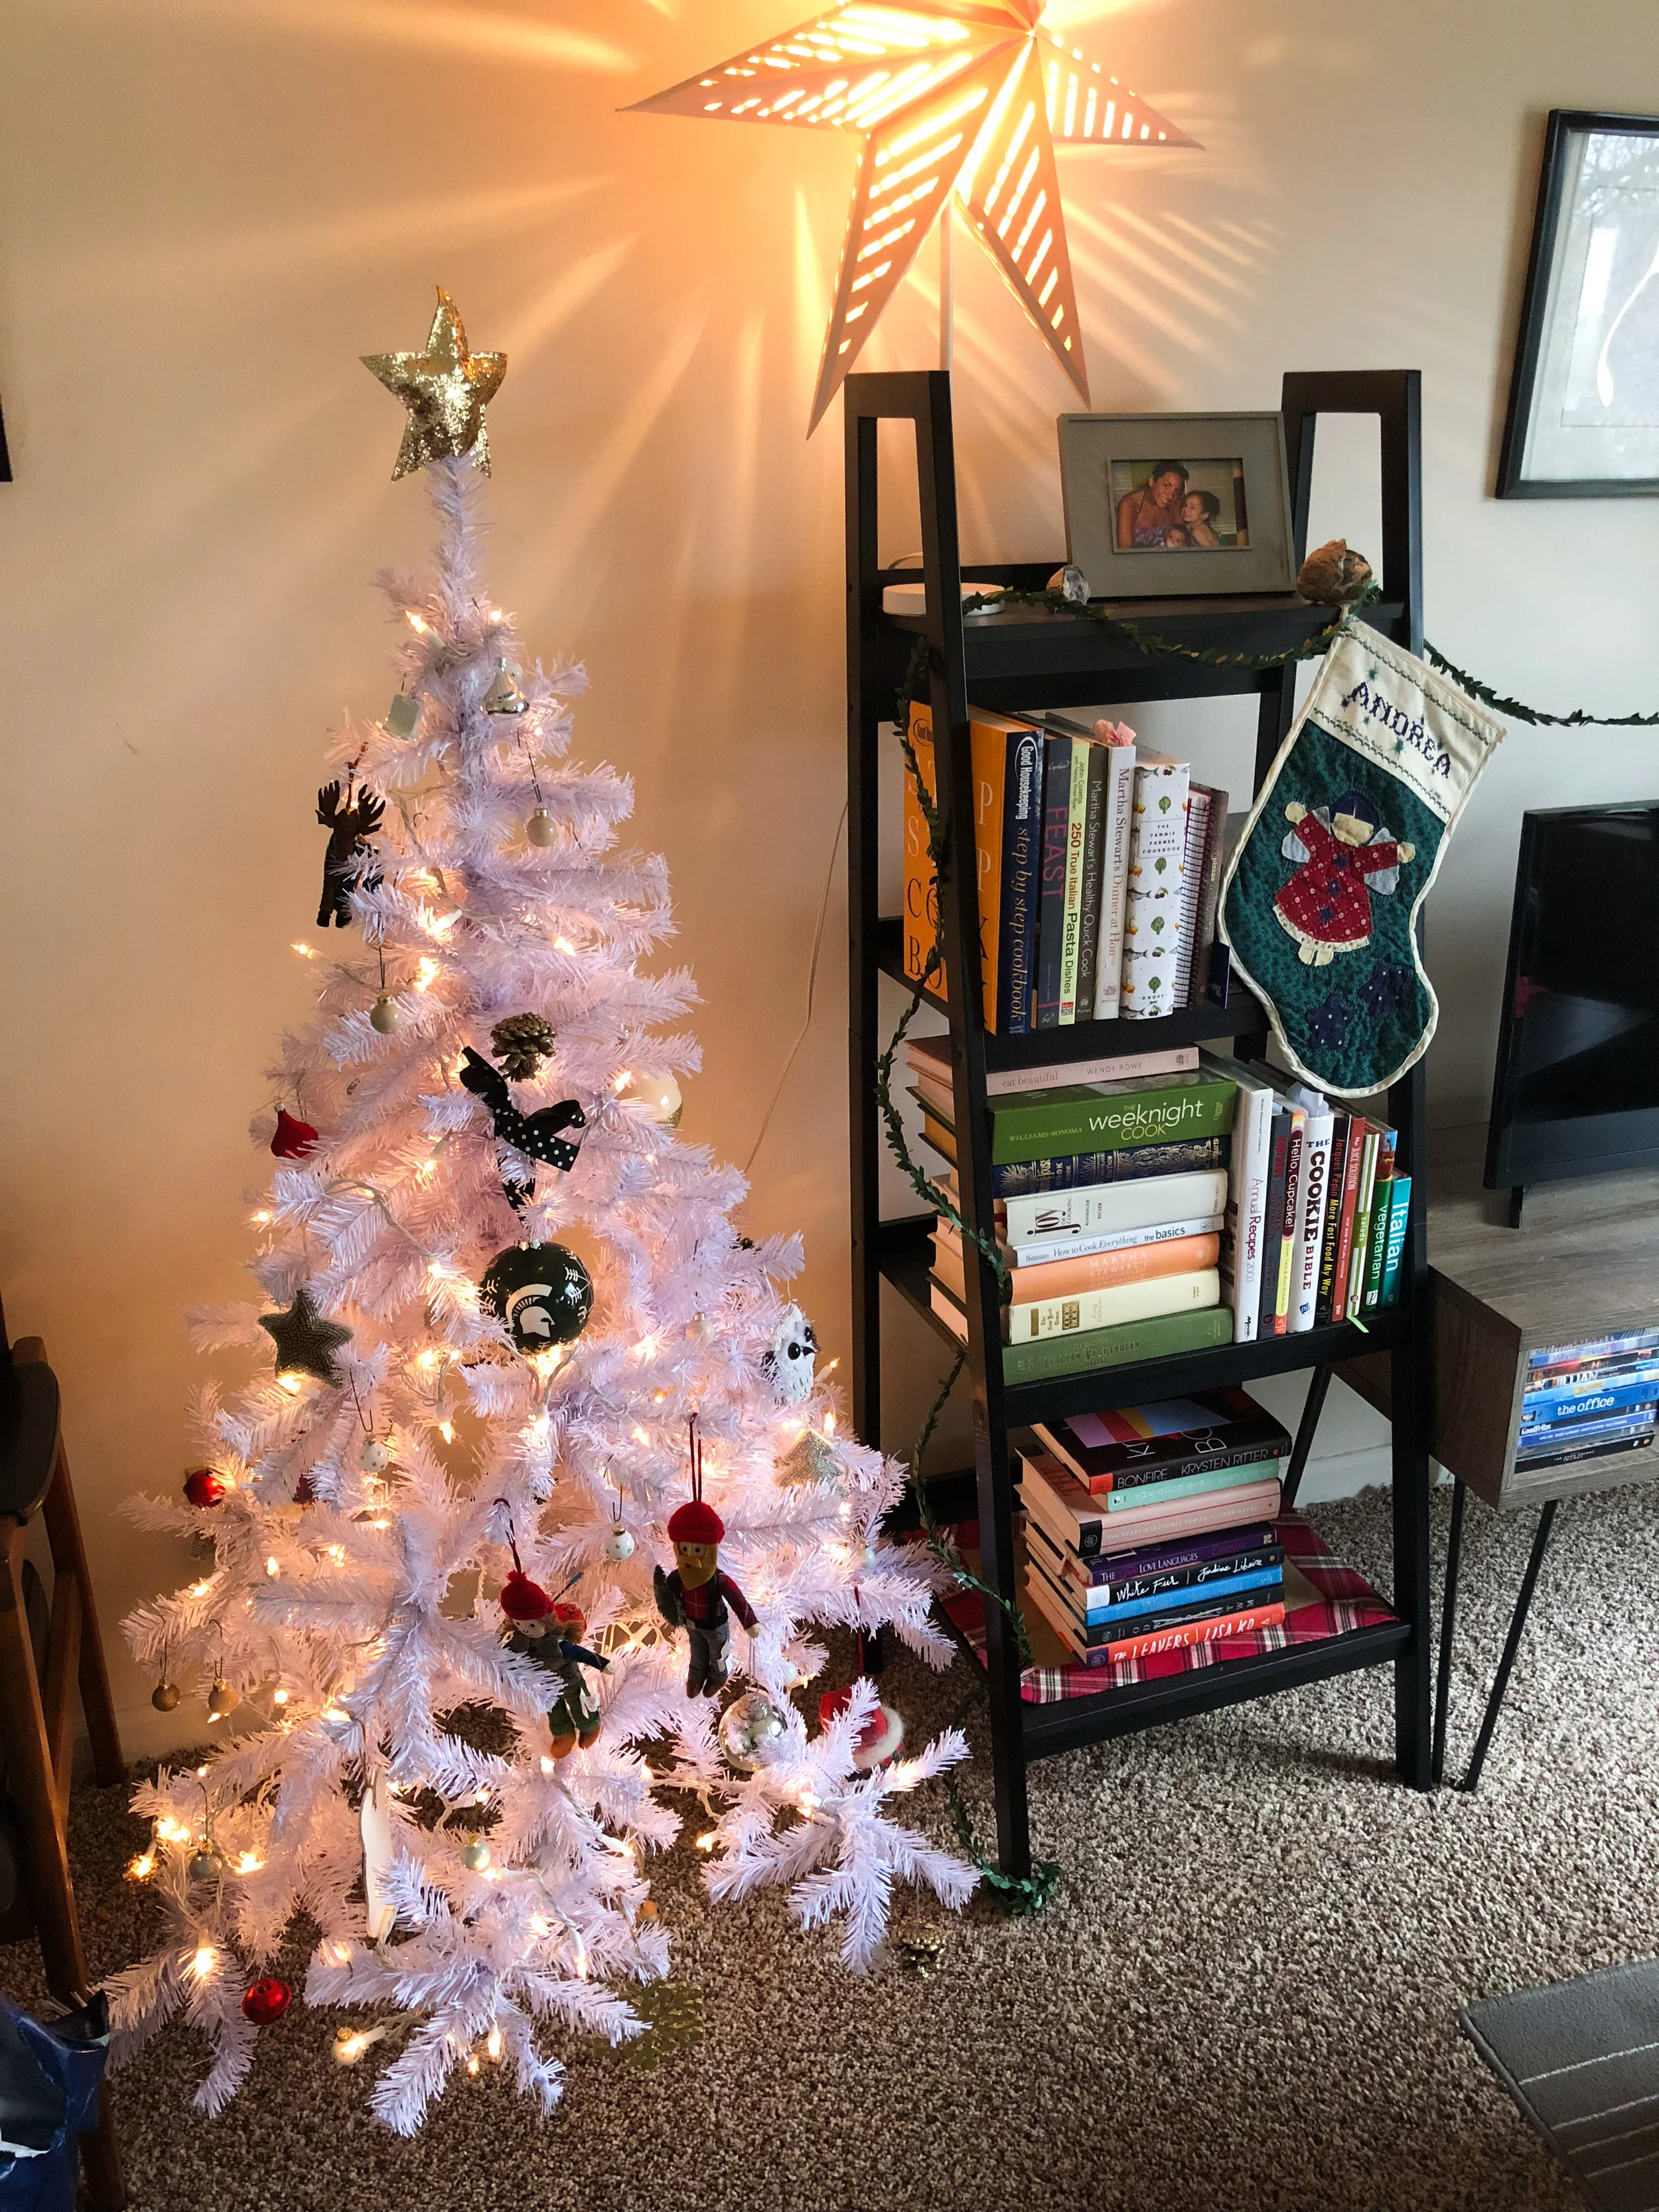
Let's first talk about my tree because it honestly wasn't preplanned, it just kind of happened. I searched christmas trees on Amazon and this 5 ft white tree came up for $35. I have always loved the idea of a white tree and decided 5 ft was the perfect size for my little apartment, so I quickly bought it and the inspiration went from there. It's no secret that I love metallics and neutrals in everyday life, so after going to Target to browse ornaments, I found myself gravitating towards metallics, browns, and really rustic and natural colors. I didn't have many of my own ornaments so I purchased about $40 worth at Target and that is mostly what is on this tree. While most of my ornaments are within this color scheme, I purchased some red, green, and even pink ones, because I love the look of a mismatched, not perfectly coordinated tree. I even found a $4 gold sequined star that slips easily onto the top of your tree. Sugar Paper Designs did a collaboration with Target this year and the result is awesome! I highly recommend visiting Target to scope out the items if you need some stylish, yet inexpensive ornaments or decorations.

The other place I visited for ornaments was Cracker Barrel. The day I went all ornaments were buy 4 get one free. I grabbed some gold jingle bells, silver glass balls, and a cute white and brown glittery owl. My tree wasn't pre-lit, but I was able to cover the tree well with 200 white lights found at Target for $10. Overall I think this tree cost me about $100 to purchase and decorate and I love it. The white tree brightens the room up and still feels so cozy. 

IMG_0321.JPG

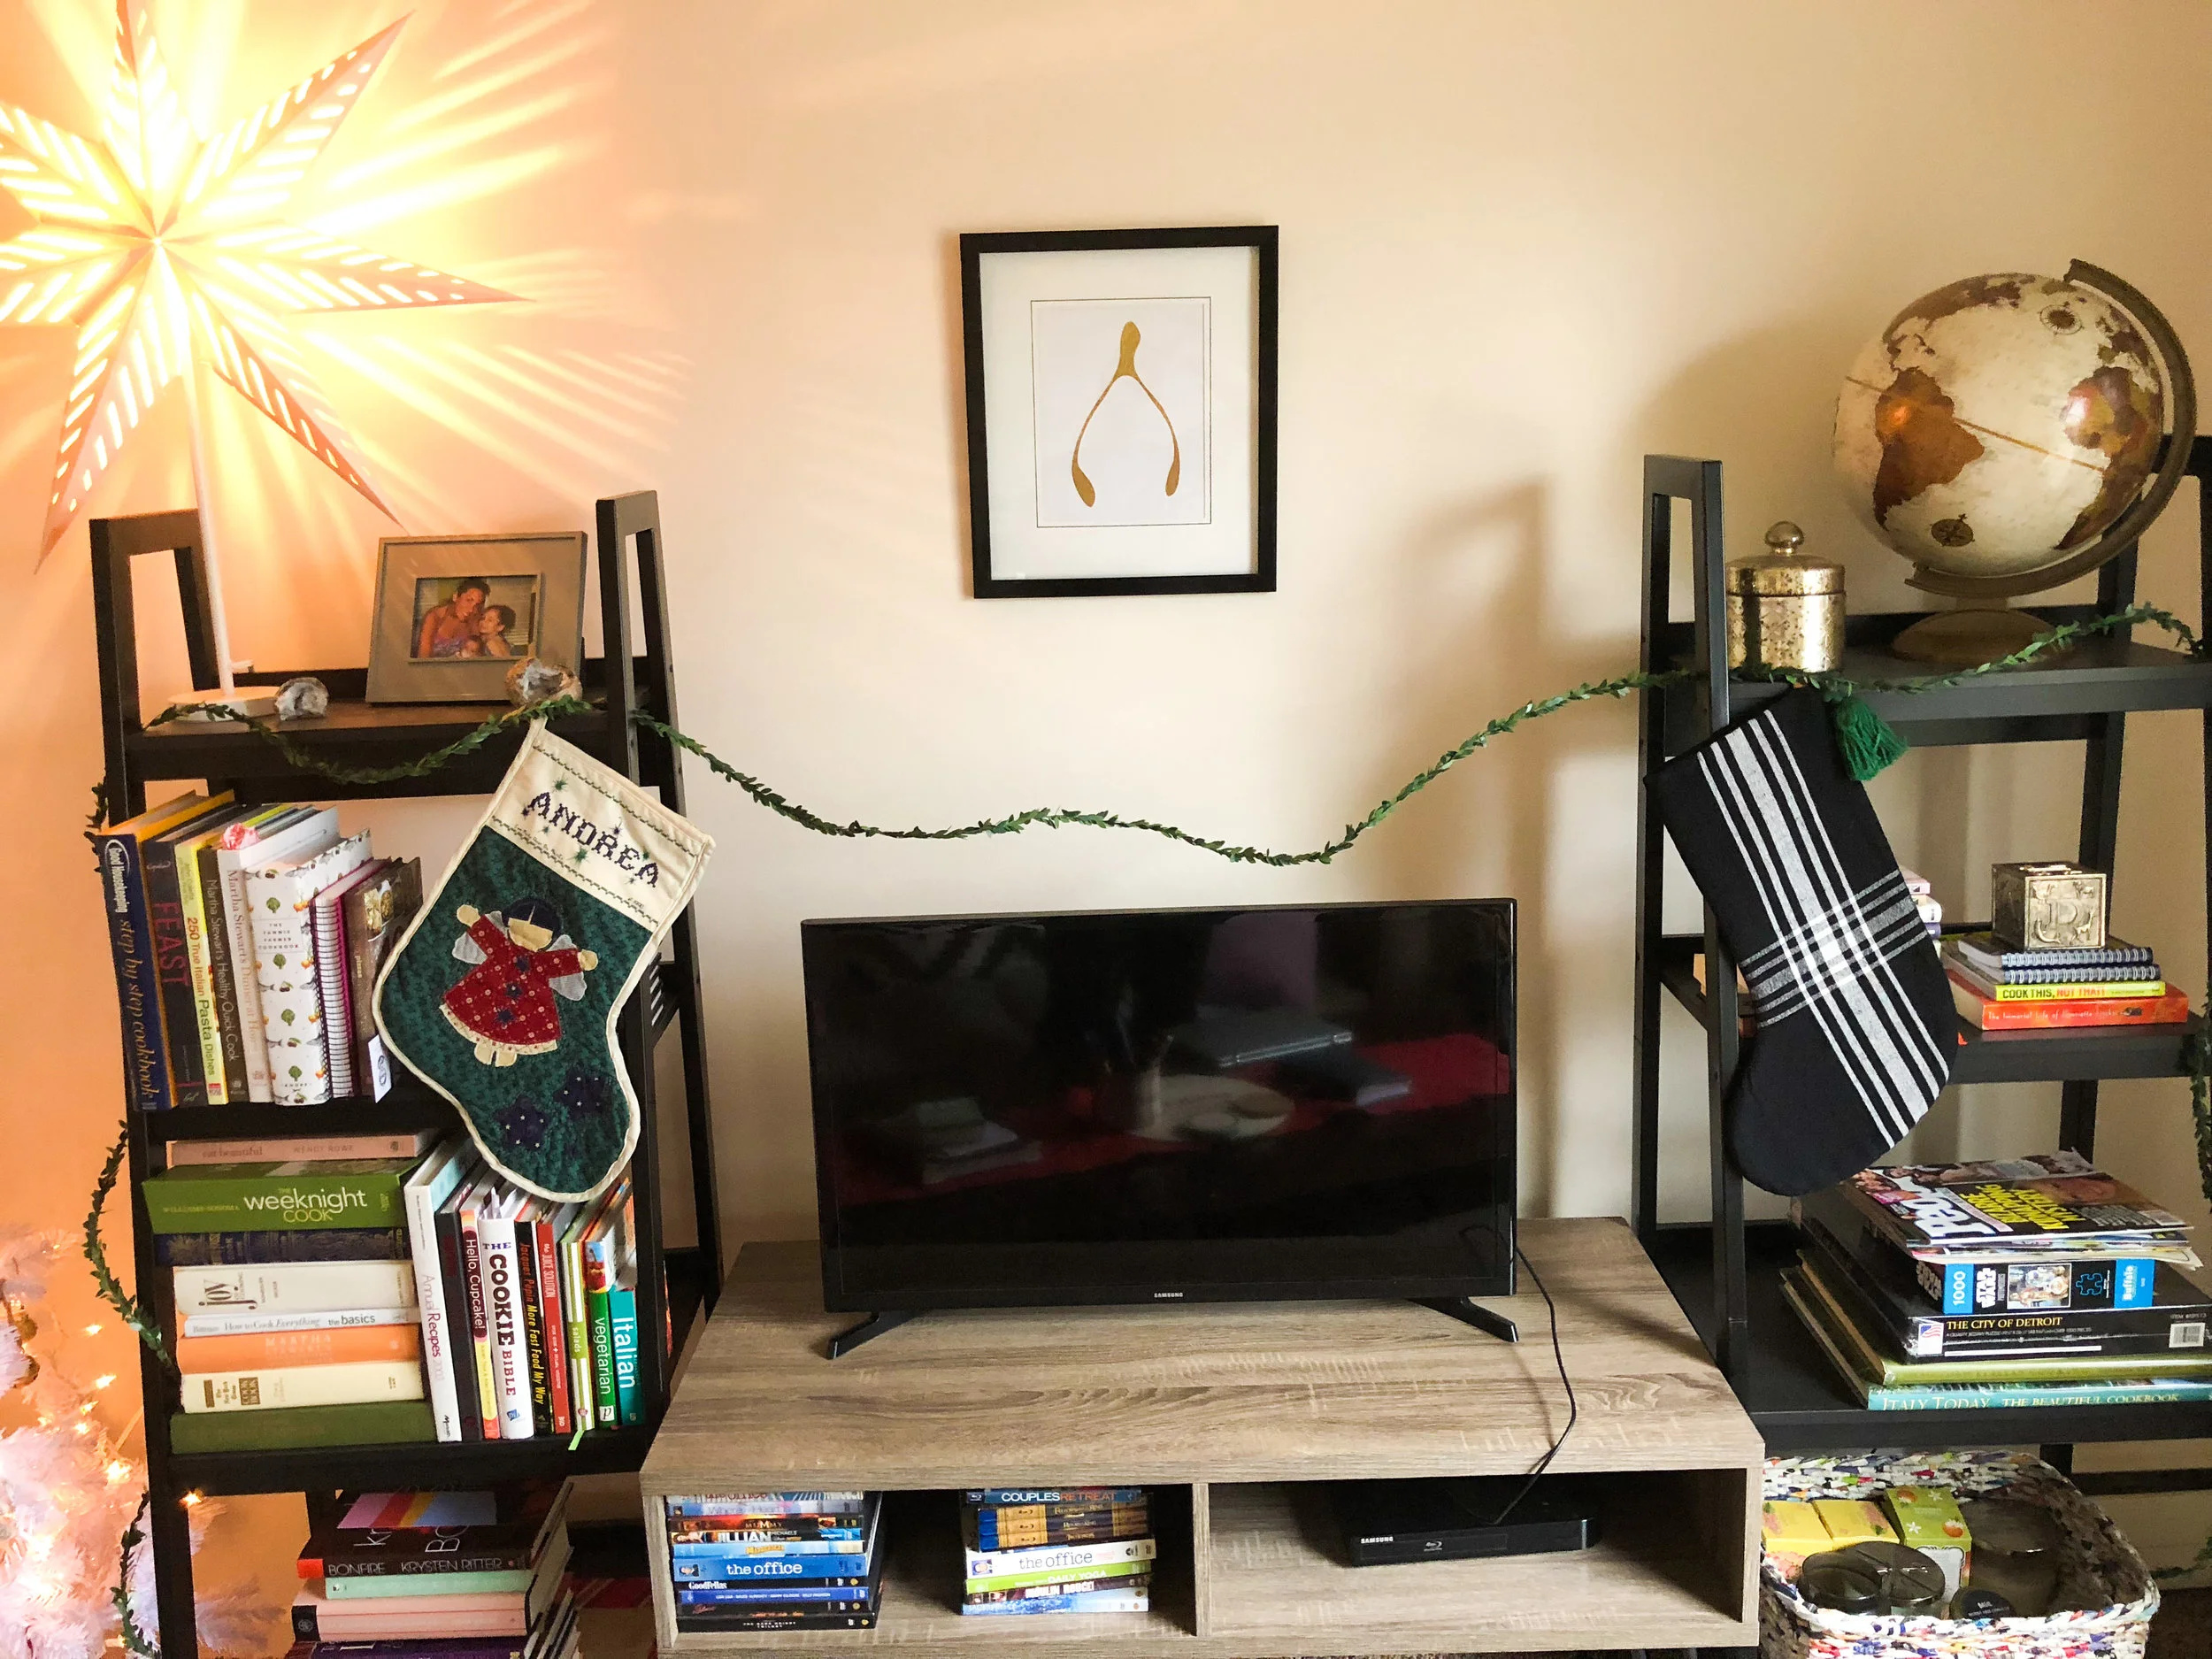
I placed my tree next to my entertainment area/book shelves which I then wanted to transform a little for the holidays as well. In my home I don't have a fireplace so I decided to hang my stockings on either shelf to frame the TV. I also picked up a $3 garland from the Target dollar spot, and wove it around the shelving and above the TV to connect the two shelves. I feel like this makes my entertainment center (which is really a TV stand sandwiched between two ladder bookshelves) look like one cohesive piece. I just so happen to have this star lamp from IKEA year round on this shelf, but I think it adds to the Christmas feeling. 

IMG_0323.JPG
IMG_0322.JPG

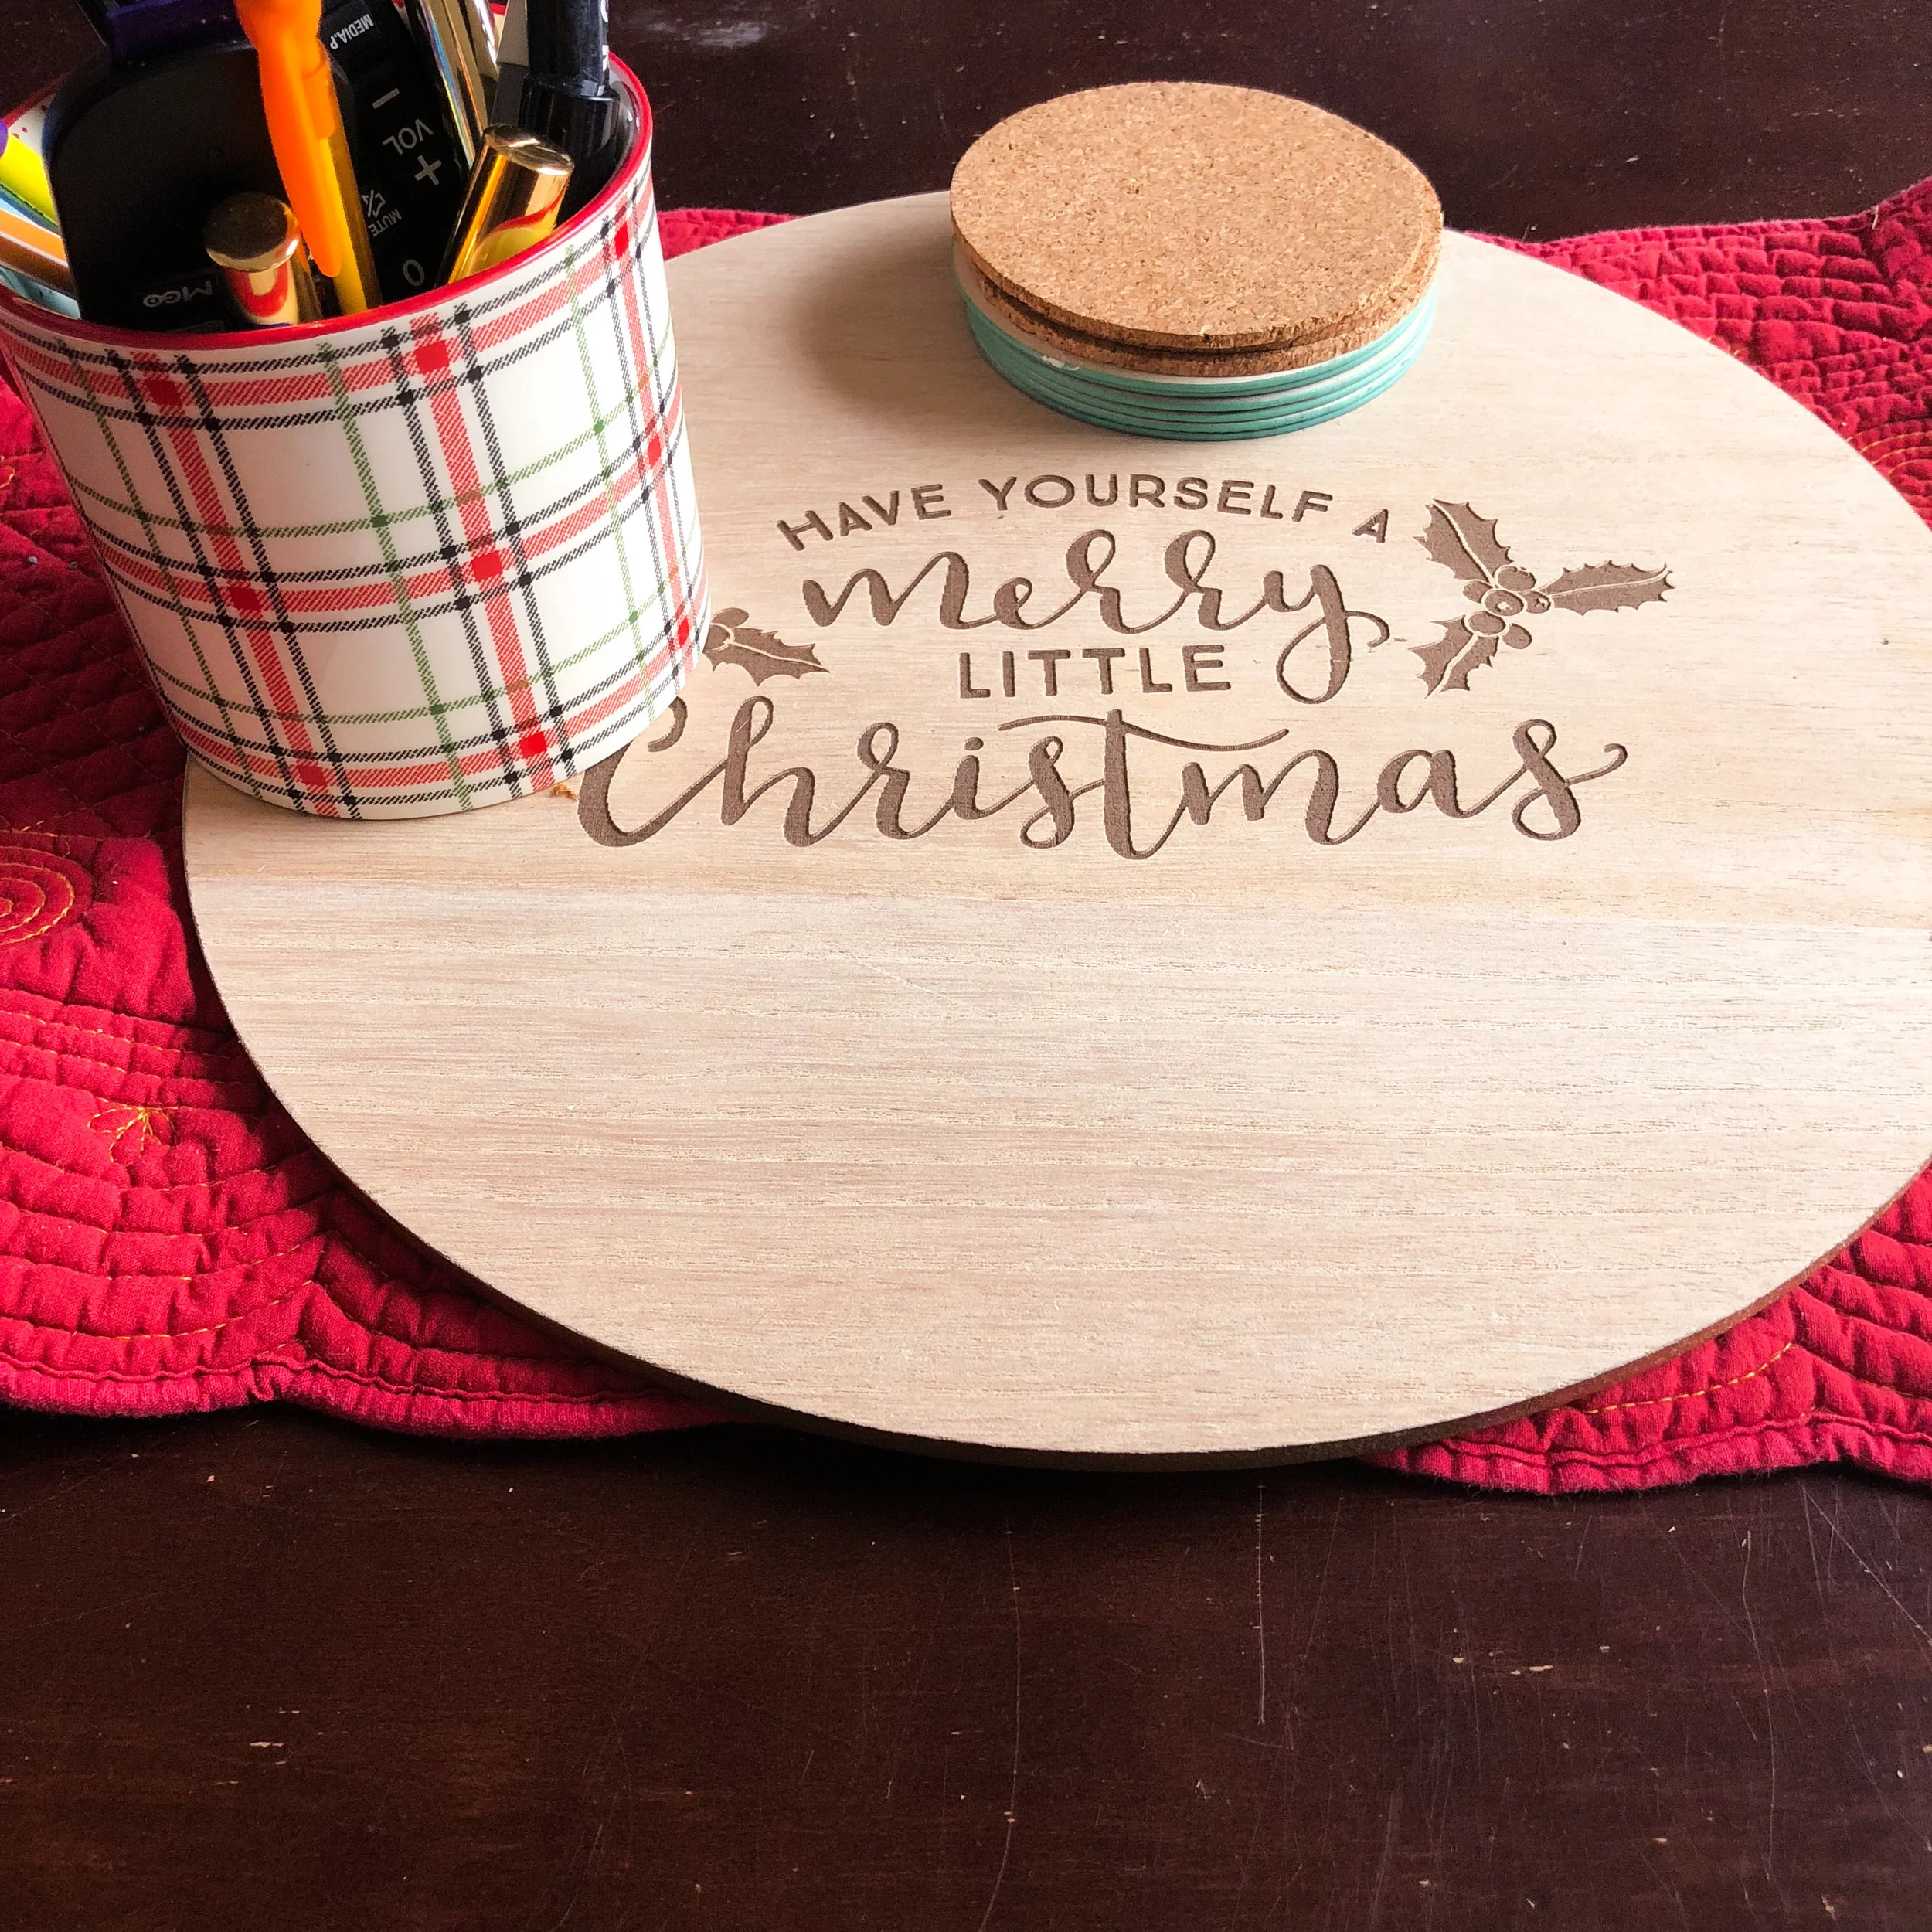
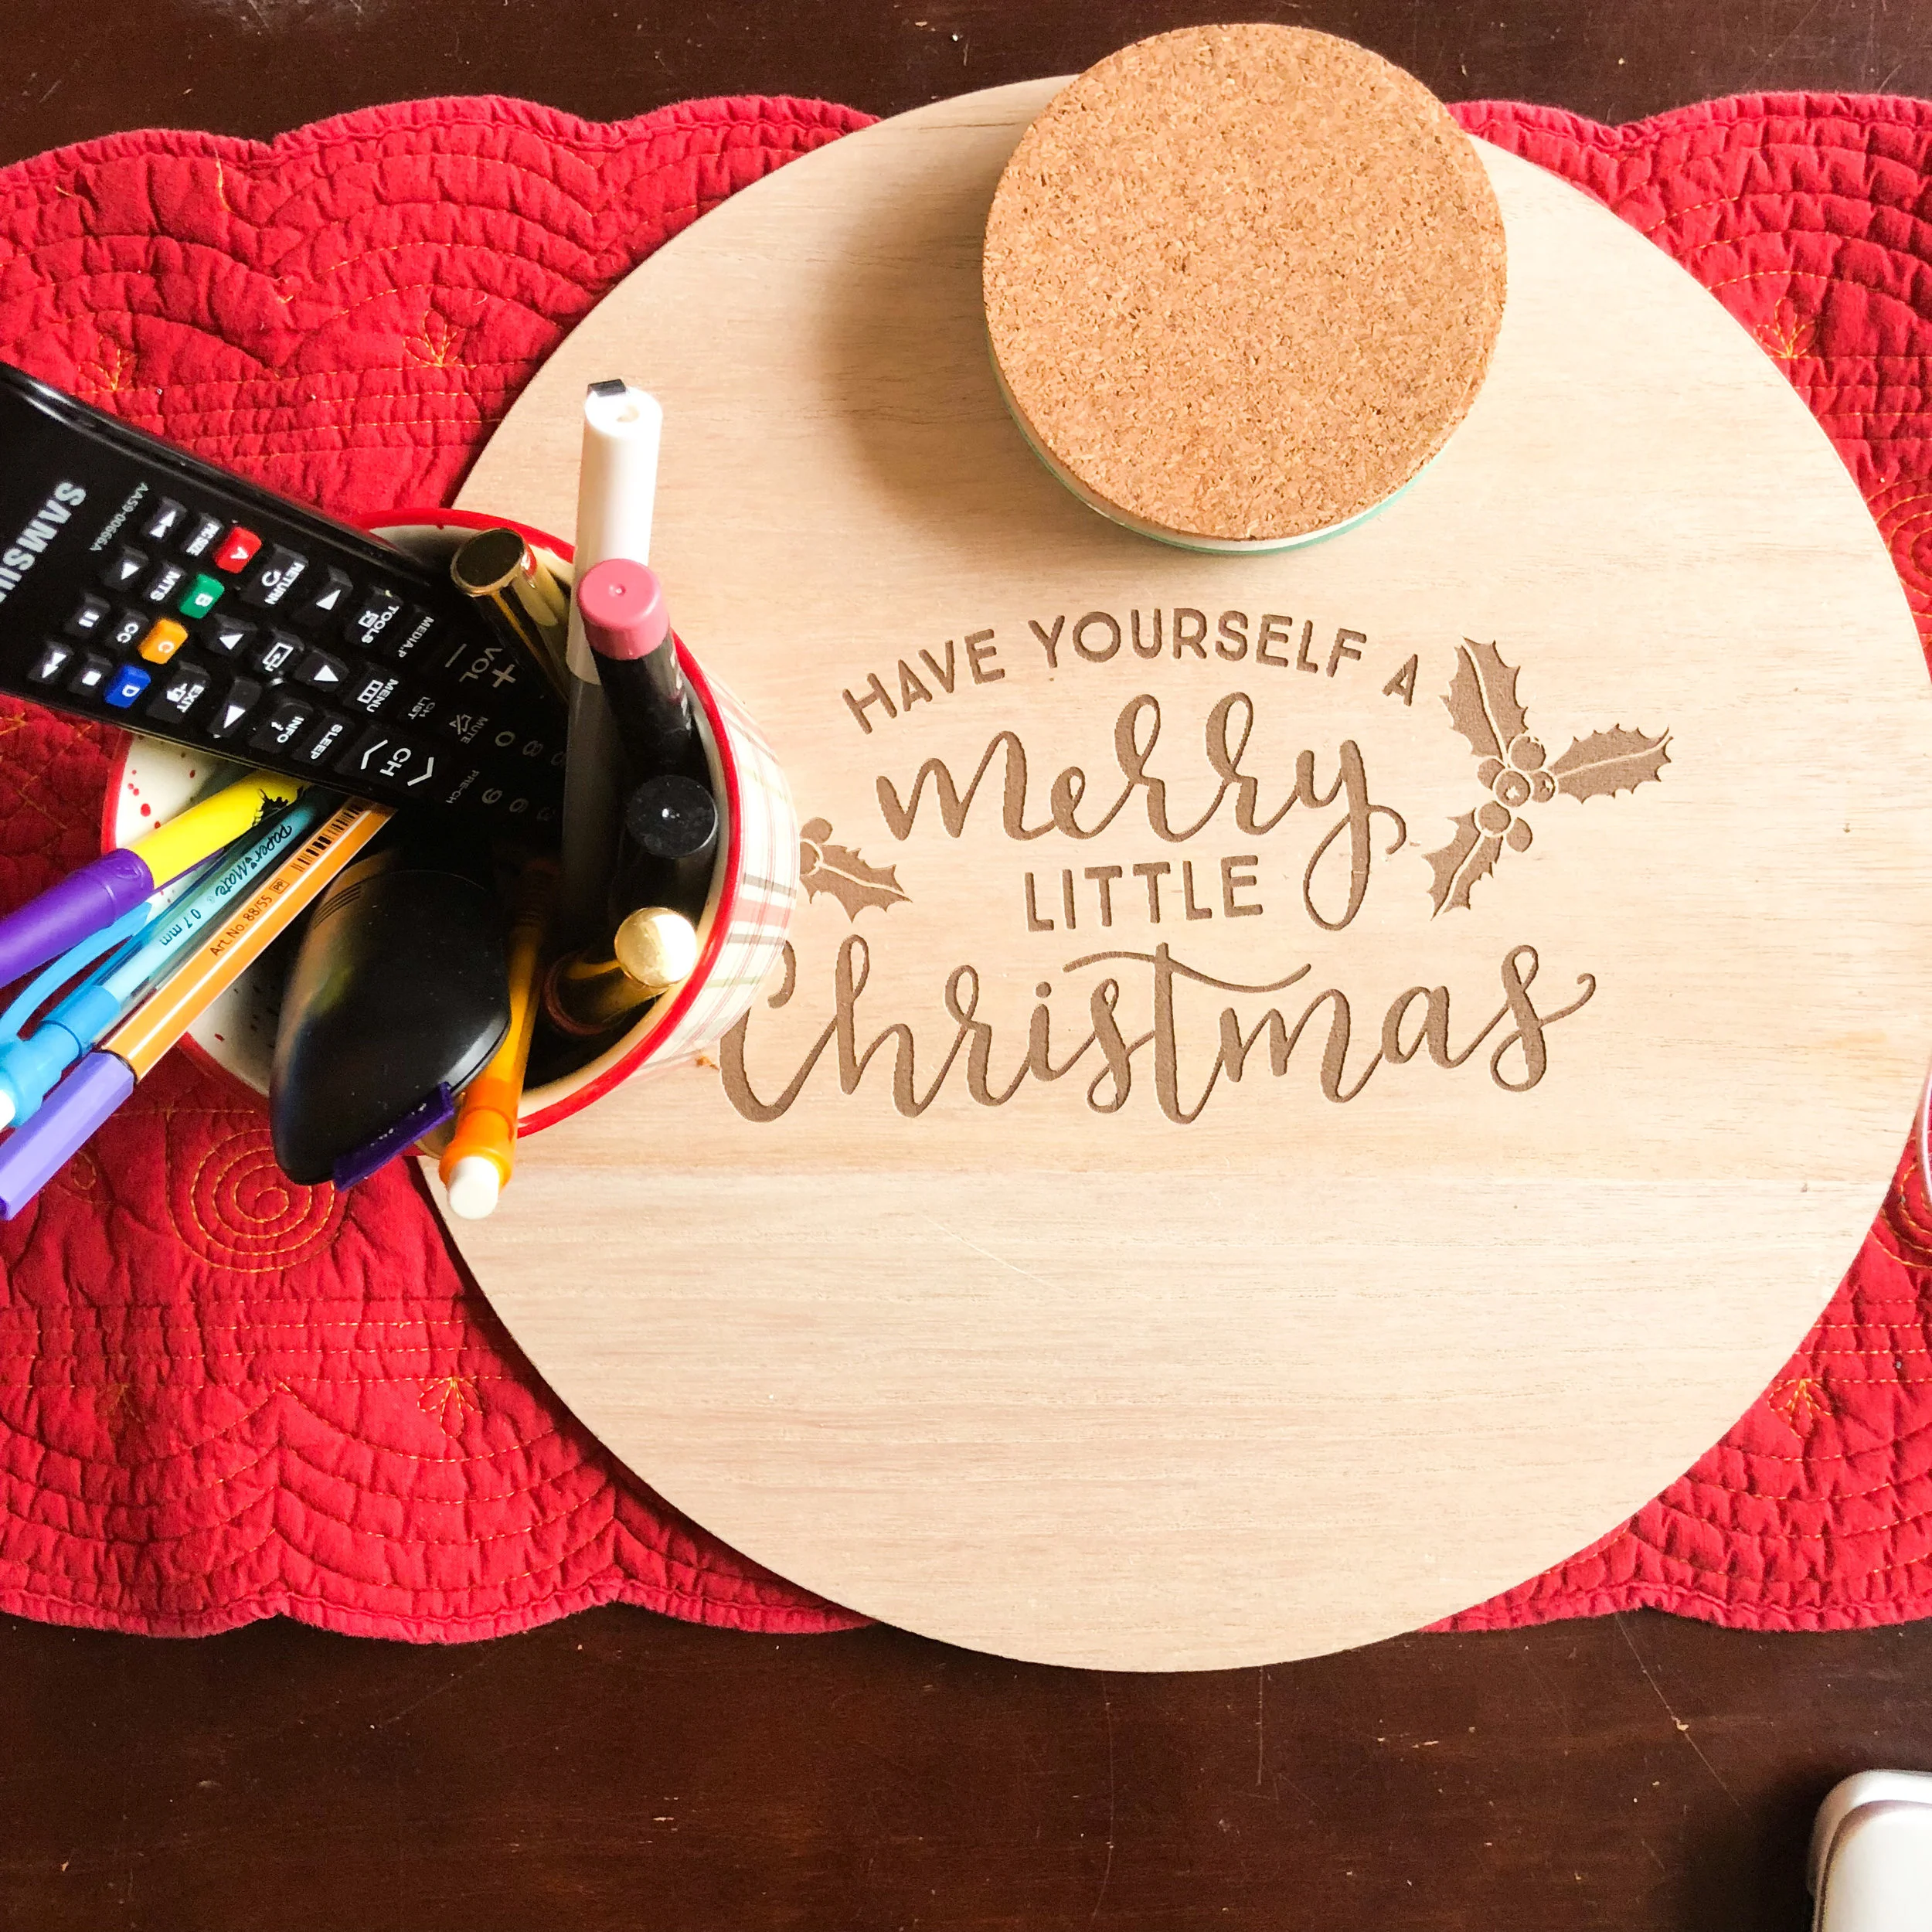
Next up we have my coffee table. This table runner was gifted to me last year and I love how it adds a little bit of color to my table. In order to stay organized with remotes and such, I like to have a little tray or something centered. I found this wooden board again in the Target dollar spot and decided it would be perfect. They even had a $3 coffee mug in the dollar spot that I decided would be perfect for holding remotes, pens, and all the little things that end up on this coffee table. I love the look of using items in an unexpected way and this coffee mug is no exception.  

IMG_0325.JPG

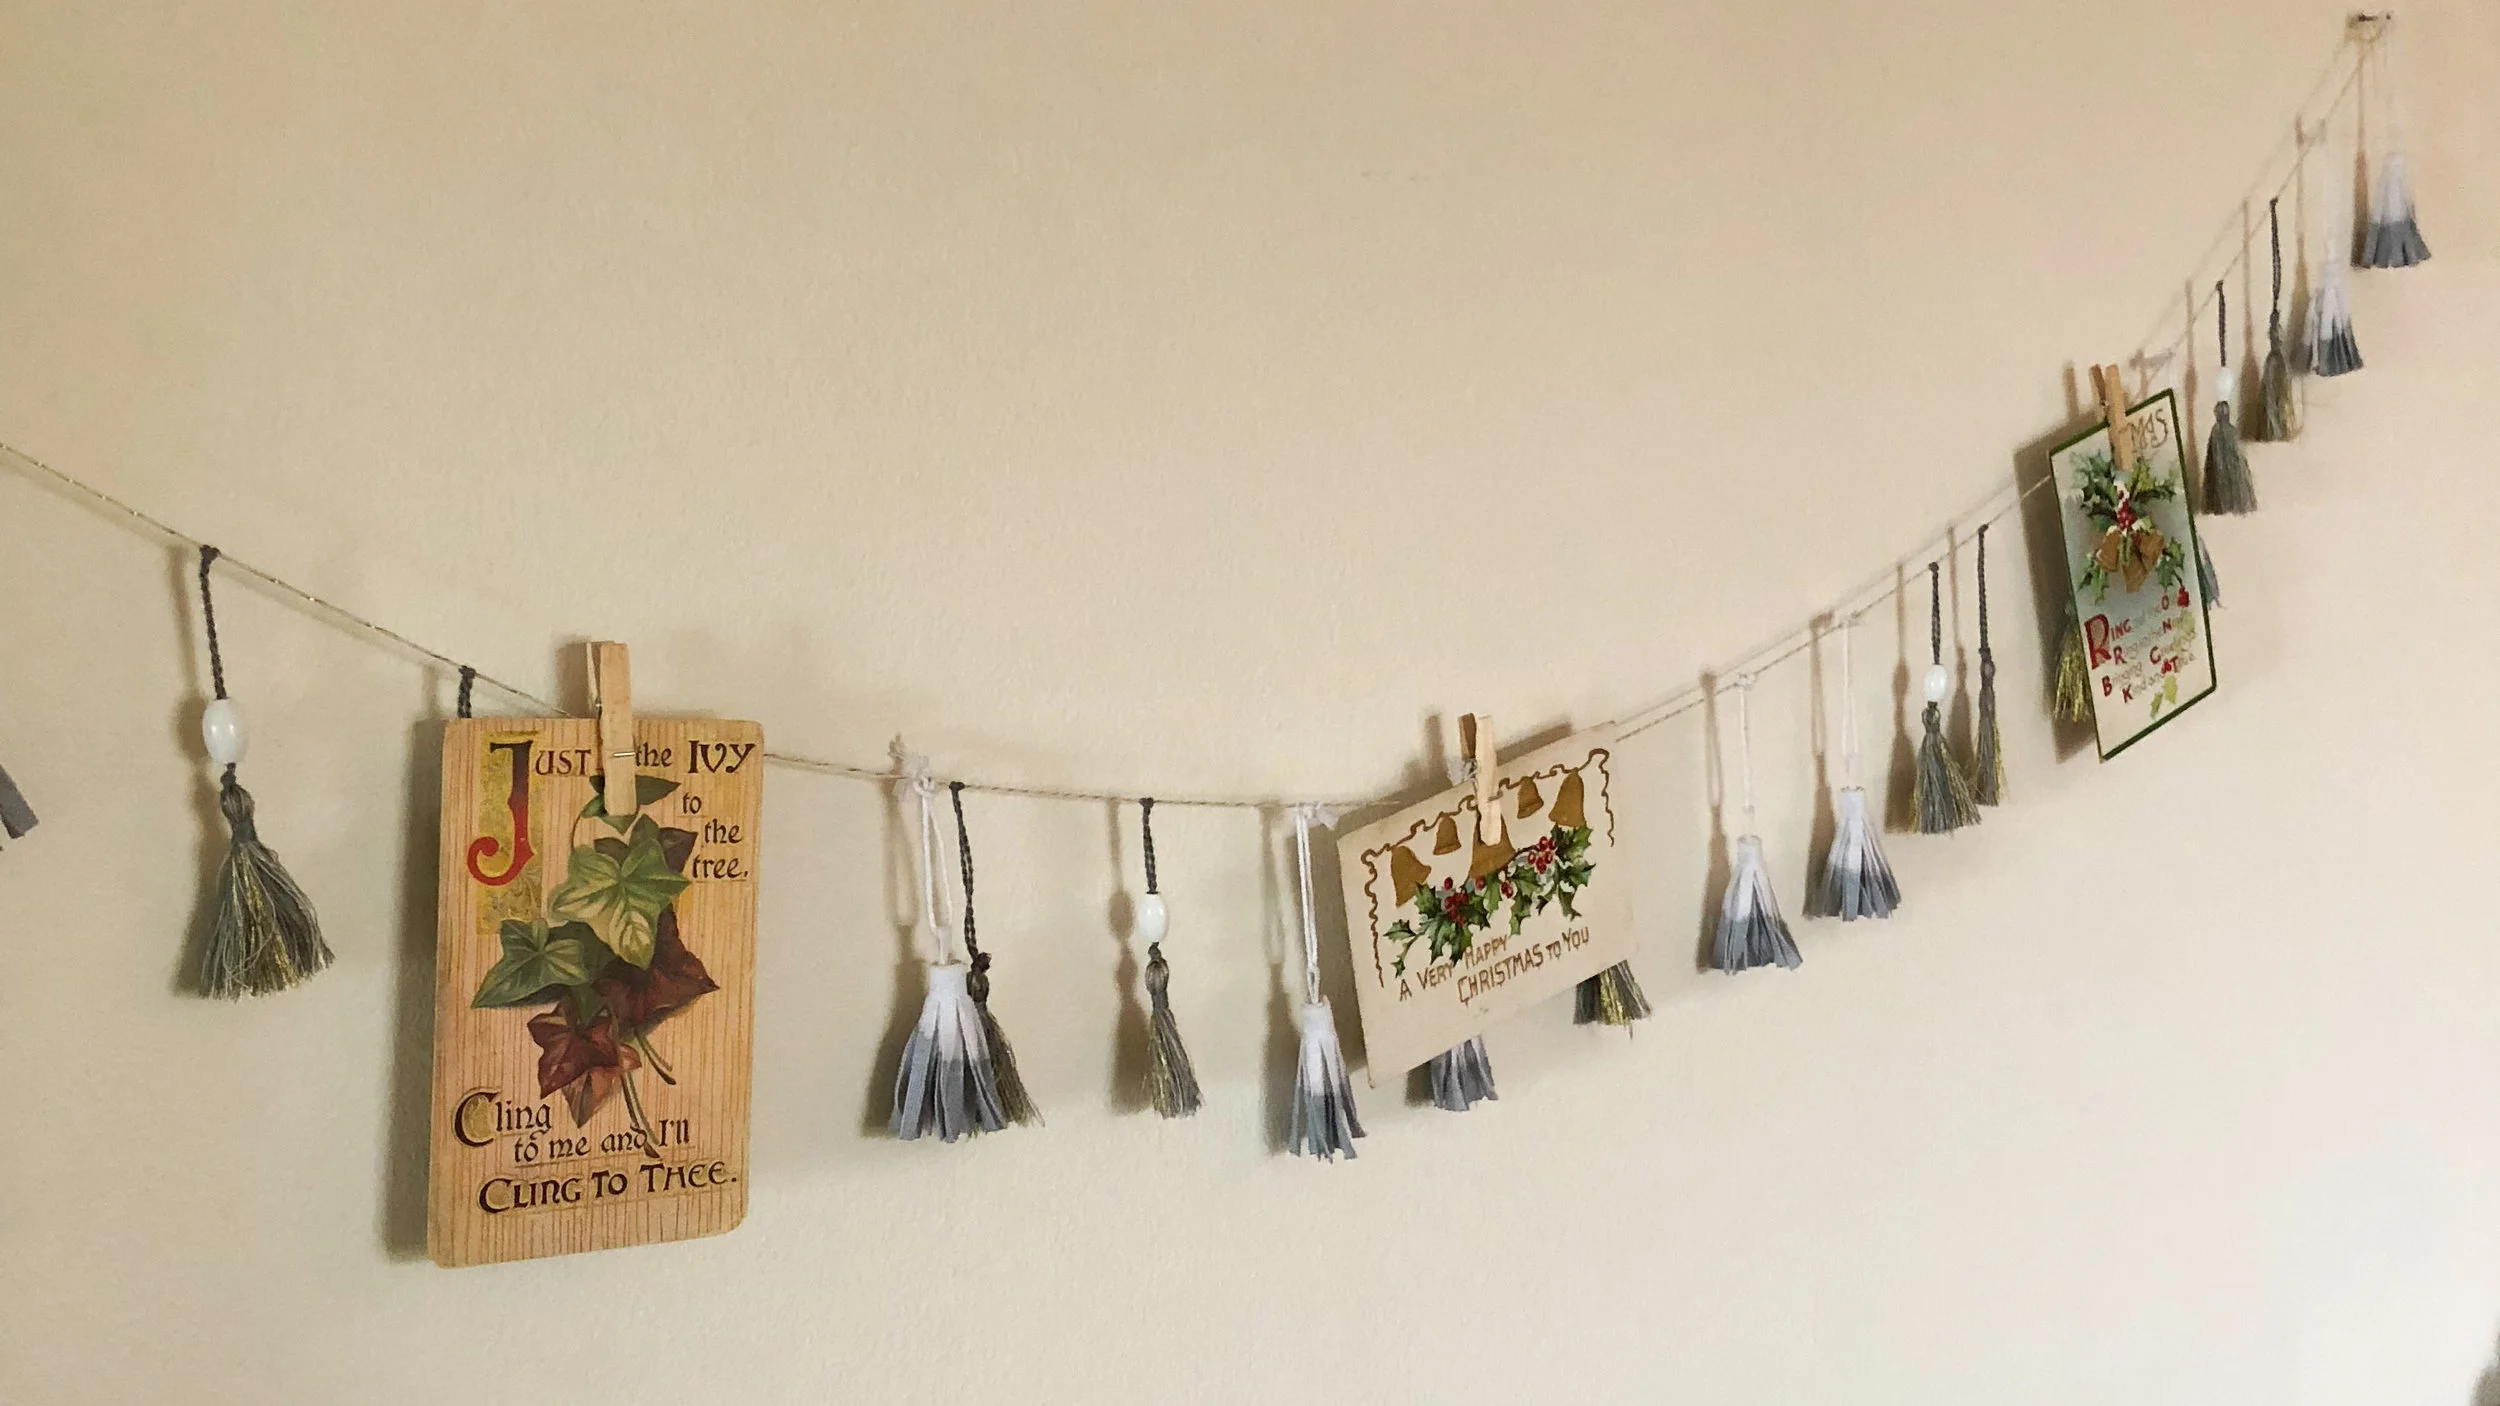
This next DIY is one of my favorites. As mentioned before, I love antiques and could spend hours going from booth to booth at antique markets. I love to find new uses for older items. One of my favorite things to find is old postcards. If you've been to my house, you may have seen my valentine garland in my hallway, which is a collection of old valentines sent in the 1910's-30's that have the cutest little sayings and love poems. Recently, I took this idea and made it more christmas inspired. I purchased holiday postcards at an antique shop and decided to clothespin them to this garland in my living room. There's something about the vintage artwork that is very comforting. 

IMG_0324.JPG

The last item I want to discuss is Pomander balls. Yesterday I got together with some of my close friends to start a tradition. Every year we want to get together to make some sort of holiday decoration and this year we started off with Pomander balls. I used to make these as a child and was so excited to share these with friends. Not only are they so beautiful and customizable, but they smell amazing and can be treasured for a long time. I learned how to make them from Martha Stewart, so here is a link to her directions.  We used a nail to poke the oranges before inserting the cloves and it worked great. We sprinkled ours in arrowroot powder and cinnamon to preserve them and make them smell even better. It's amazing how just one of these in a room can really make it smell like Christmas. If you google citrus pomander balls, you'll see loads of inspiration on how to design and create your own. 

IMG_0308[318].JPG

There you have it. So far this is how I have decorated for Christmas. So far everyone has told me I've nailed the cozy factor right on the head, so I'm happy it's coming along. Let me know what you think and please share your Christmas traditions with me! I love to hear about what unique things people do for holidays. 

Now I'm off to go make homemade bagels. Have a relaxing and wonderful Sunday friends!

-Andrea 

Dre Does a Tarte Chic to Cheek Collection Review

Happy Saturday morning friends! If you've been reading my blog for awhile you know that I am a huge tarte cosmetics fan! I love that their products are formulated with Parabens, mineral oil, and a lot of the other chemicals you find in makeup. I have multiple holy grail items from this company, one of them being their Amazonian Clay 12 Hr Blushes. Every year I get so excited for them to debut their holiday collections. It used to be mainly for the Lip Surgence lip crayons but now I'm a sucker for the wonderful blush sets they do for the holidays. Last year they did a set of three mini blushes plus a brush which I was obsessed with so I was dying to see what they would bring to the table this holiday season with their Sweet Dreams Holiday Collection. 

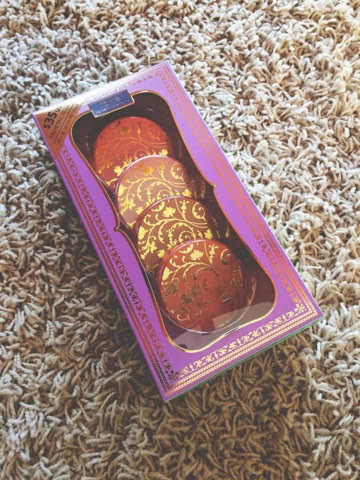
This year they brought out the Chic to Cheek blush set of 4 mini blushes. I'm happy they ditched the brush and did a fourth blush instead because I have enough brushes but clearly not enough shades of these blushes...haha 

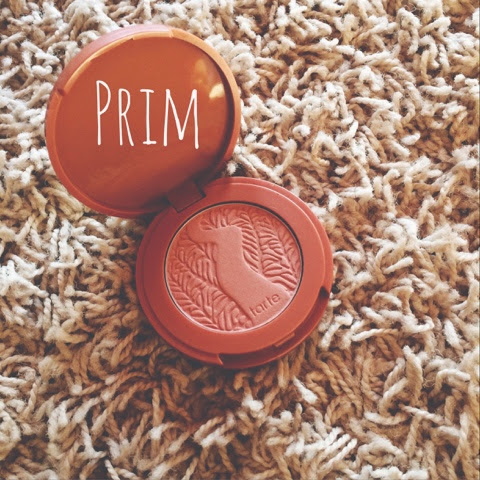
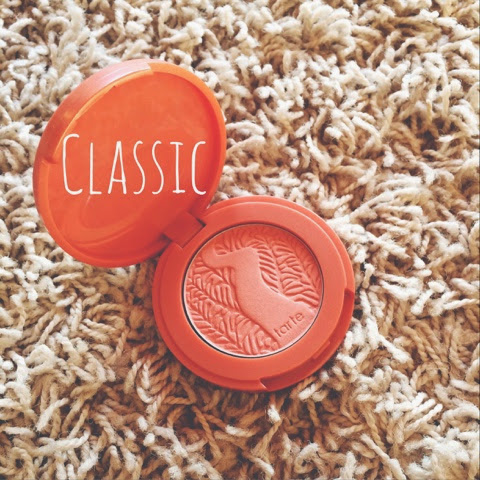
L to R: Classic, Prim, Amour, and Daydream.
The set is only $35 at Ulta and includes amour (rosy pink), classic (candy pink), prim (soft apricot pink), and daydream (plum nude). While I agree with the descriptions of amour and daydream, I feel like classic is much more of an apricot shade than prim. Regardless, I feel like all four shades are different enough that this set is worth it. They are all matte except for amour which has a slight bit of shimmer in it, but nothing too crazy or intense. The pigmentation and wearing power of these blushes is just like the original full size blushes and if you like blush variety I highly suggest these. If you've never tried out the Amazonian Blushes at all, this is a great chance to do so! Hurry though, because they're going fast at the store I work at! 


Have a beautiful weekend,

Dre

Dre Does a DIY: Dip-Dyed Shorts

The fourth of July is almost here and to celebrate I'm bringing one of my most popular DIY's from my old college blog, to Dre Does! I can't believe it's been two years since I made these shorts but I absolutely loved them. I know with the World Cup currently underway and the 4th around the corner, many of you might like to learn how to make these ridiculously festive shorts! If you make them please be sure to take a picture and tag them on Instagram or Twitter with the #dredoes! Here's a finished shot of the shorts I made and tutorial on how to make your own. The whole project cost me less than $9!


I started with an over sized pair of shorts from a thrift store that I picked up for $2. I tried them on and marked them with a sharpie about a half inch lower than I wanted them to hit when finished. I cut them with sharp fabric scissors and tried them on to check for the length. You might have to take them on and off and make adjustments until they are the right length and straight. Then I took a fork and using the tines, I distressed the edges to give them a better 'cut-off' look. When you put them in the dryer later they will fluff up more and look better so keep that in mind when distressing! Make sure you leave that extra length for distressing so that they aren't too short in the end. I also snipped a little bit out on the front to look like there was a rip. I distressed the 'rip' also with a fork. Here's a picture of what they looked like after this step:

Now it's time to bleach! I bought a bottle of bleach at my local dollar store (total cost so far is $3). It's really important when using bleach that you are in a well ventilated room so make sure you're doing this either outside or all the windows are opened! There was nothing too specific about this step besides adding bleach to a container and adding some cold water too. Since I was trying to make stripes I dipped my shorts 2/3 of the way up from the bottom and hung them on the side of my bucket for about an hour. Depending on the denim quality your shorts might bleach really quickly or take a long time. Whatever the case may be, make sure you don't leave them overnight because the bleach can eat away and destroy the fabric. Once the shorts are white enough for your liking, wash them on cold in the washing machine. I noticed that the bleaching process continued a little bit into the washing and they came out a little whiter. Next I dried them in the dryer until completely dry. Now it's time to stud! I bought my silver pyramid studs at my local craft/hobby store for $1.50 a pouch and used 2 pouches for my shorts (total cost so far is $6). Depending on your denim it might be a little tricky to pop your studs through, but basically all you do is push the two sharp prongs through your fabric and push them towards each other until flat. I used the wooden handle of a kitchen knife after a few because it was starting to hurt my fingers. Be very careful with this part if you decide to use a knife! I studded the front pocket of my shorts and the back pockets. Here's a picture of what the shorts looked like this far:


Now it was time to add some red and it couldn't have been any easier. Going into this project I thought I was going to have to deal with the traditional tie-dye process including mixing powders and putting in squeeze bottles, etc. However I was pleasantly surprised when I found spray tie-dye bottles, already mixed, at my local craft/hobby store for only $2.50! (final cost of project is $8.50) They had a good amount of colors too so I definitely recommend it. All I did was have a friend hold them over the lawn outside and I sprayed red dye on the bottom third of the shorts. Then I just laid them out on the grass to dry in the sun for about half an hour. The back of the bottle said to then dry them in the dryer until completely dry to set the dye but this is going to be dependent on whatever dye you choose. I haven't washed mine since so I'm not sure how much they will fade but make sure you wash them alone if you decide to. And that's it! You now have your very own pair of dip-dyed, ombre shorts! Have fun experimenting with different colors and patterns! After all it's only going to set you back about $9 a pair!
I hope you enjoyed this DIY and are inspired to rock some festive shorts this holiday! Look for one more DIY on Friday from my old blog that you can use for celebrating!

Have a beautiful day,

Dre